
| 일 | 월 | 화 | 수 | 목 | 금 | 토 |
|---|---|---|---|---|---|---|
| 1 | 2 | 3 | ||||
| 4 | 5 | 6 | 7 | 8 | 9 | 10 |
| 11 | 12 | 13 | 14 | 15 | 16 | 17 |
| 18 | 19 | 20 | 21 | 22 | 23 | 24 |
| 25 | 26 | 27 | 28 | 29 | 30 | 31 |
- spring
- API
- Controller
- mysql
- html
- Array
- Java
- 이클립스
- 자료구조
- React
- JDBC
- SpringBoot
- string
- 조건문
- Uipath
- View
- rpa
- 문자열
- 상속
- Board
- jsp
- db
- MVC
- Database
- Eclipse
- jquery
- 배열
- Oracle
- Thymeleaf
- Scanner
- Today
- Total
유정잉
리액트 [ 파일생성, Tailwind Css 사용, 인텔리제이 연동 ] 본문
[ Tailwind Css 명령어 ]
C:\react\unit01\react01>npx create-react-app react01
C:\react\unit01\react01>npm install -D tailwindcss
C:\react\unit01\react01>npx tailwindcss init
C:\react\unit01\react01>npm start
C:\react\unit01\react01>npm install react-router-dom
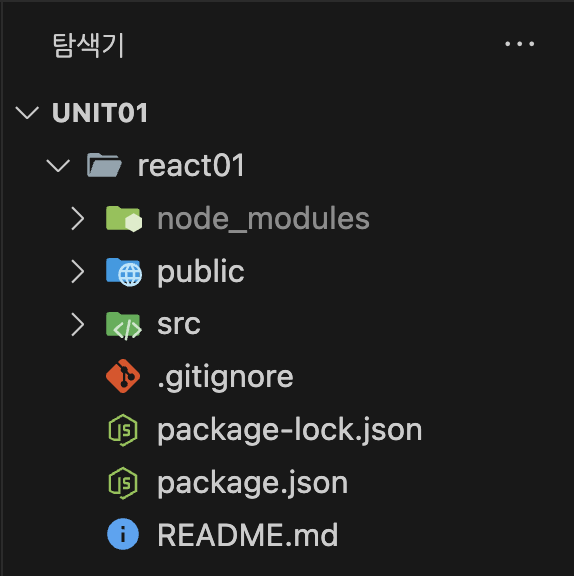
1) Desktop / react / unit01 파일 생성 -> Vscode에서 파일열기 -> command + J -> react01 파일 생성
터미널창에 -> npx create-react-app react01
(만약에 중복 파일 있어서 오류 뜨면 npm i -g npm@latest 하고 npx create하기)

2) Simple React Snippets와 Tailwind CSS IntelliSense 확장자 다운로드 후 명령어 입력
-> npm install -D tailwindcss -> npx tailwindcss init

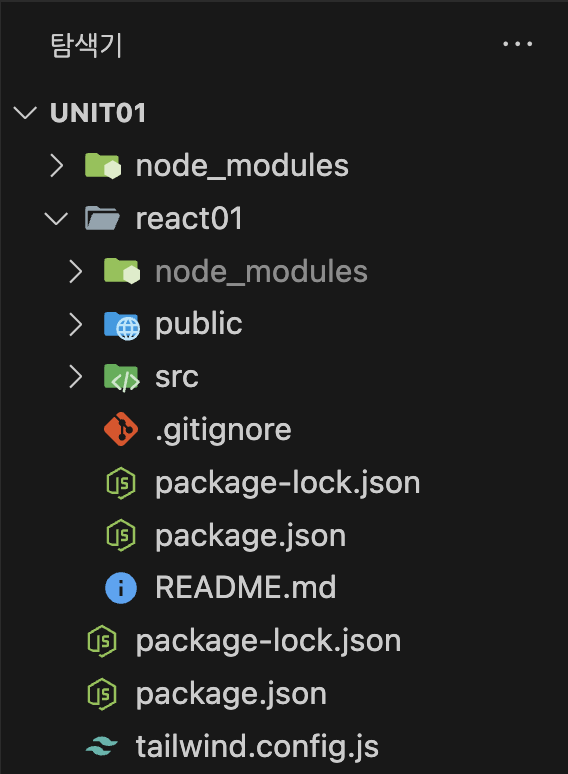
3) tailwind.config.js 파일에 경로 설정 -> "./src/**/*.{js,jsx,ts,tsx}"
4) src/index.css 파일에 @tailwind 설정 -> @tailwind base; @tailwind components; @tailwind utilities;
5) App.js 파일에 설정 -> CSS style을 태그안에 한번에 줄 수 있는 편리함
6) 서버 실행 -> 터미널 창에 경로 맞게 설정 후 npm start -> localhost:3000


[ 리액트와 스프링 부트 연동 (인텔리제이로) ]
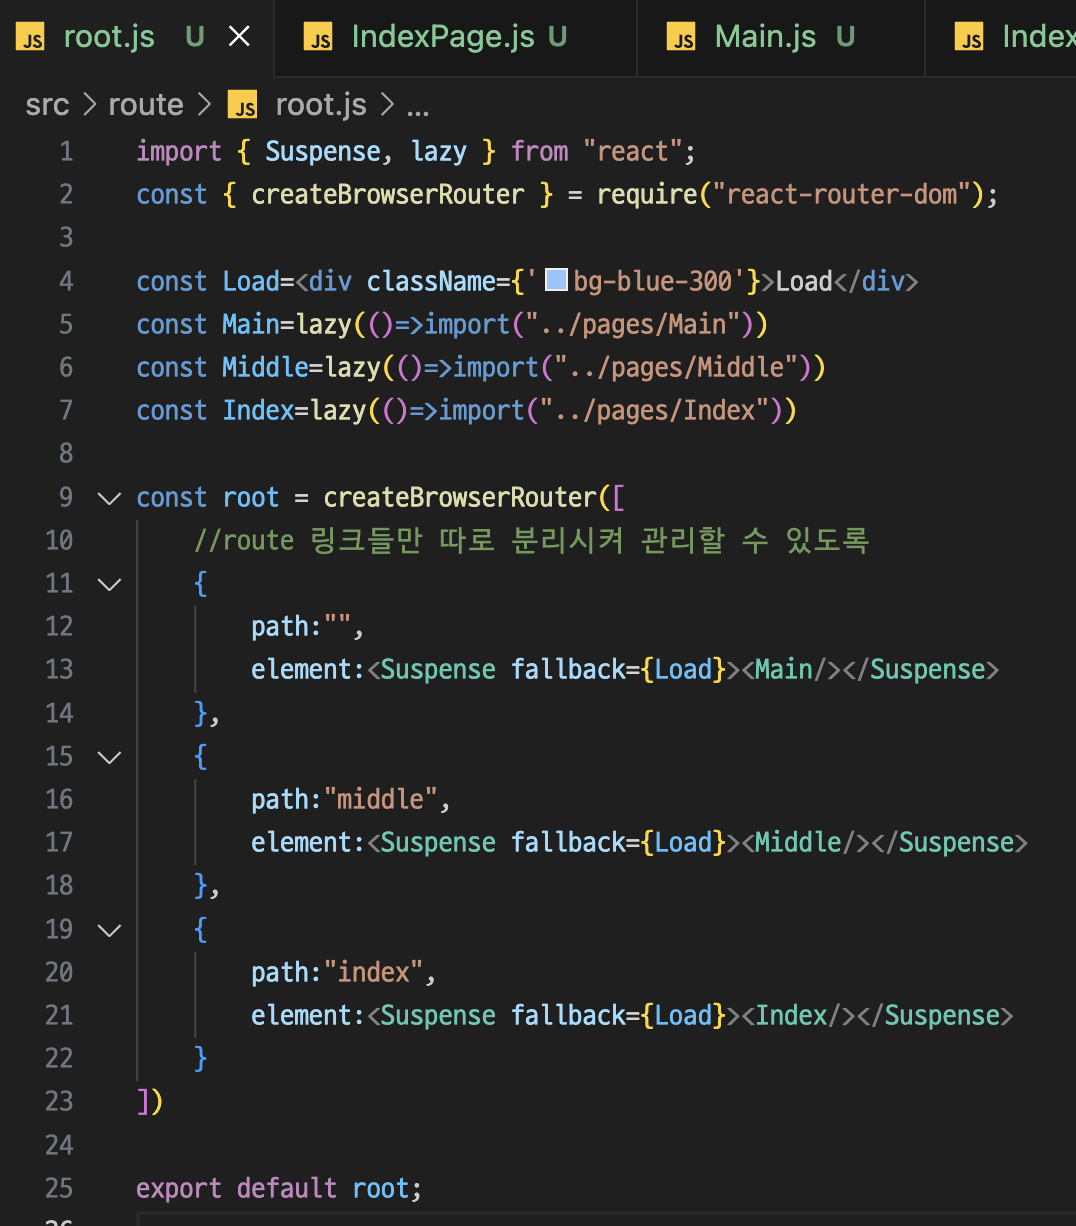
1) src 폴더에 route 폴더 생성 후 root.js 파일 생성 -> createBrowserRouter 함수 사용
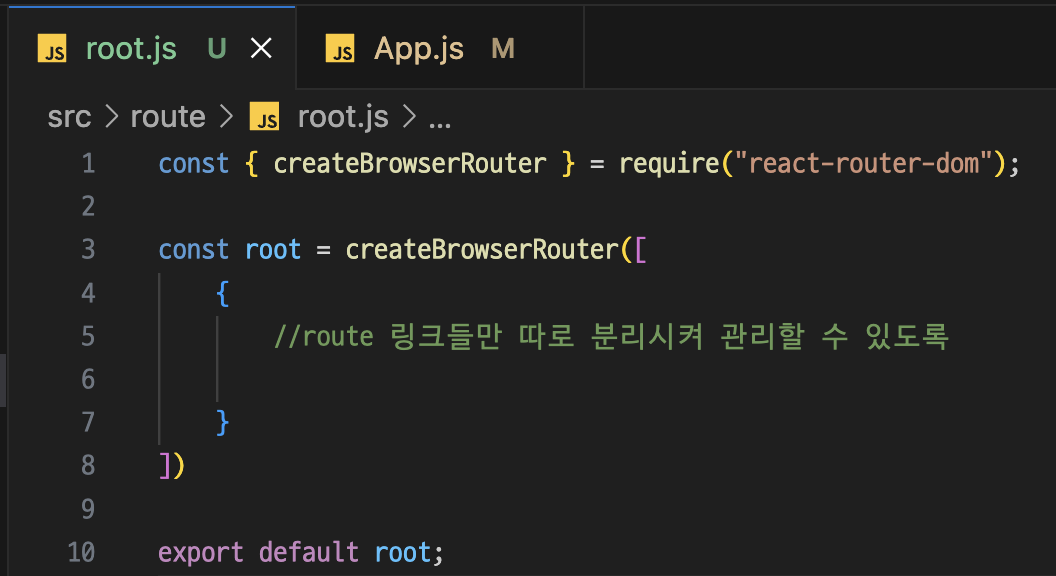
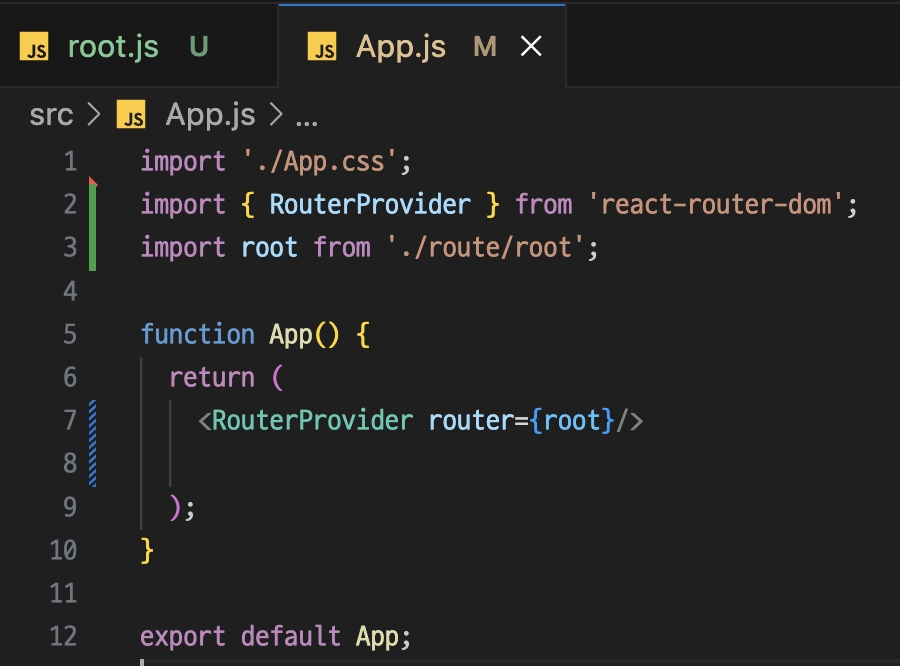
2) App.js에서 <RouterProvider router={root}/> 사용 + import root from './route/root';
-> RouterProvider로 경로를 받는 것 -> 무슨 경로? 위에서 root.js에서 작업한 createBrowserRouter의 경로
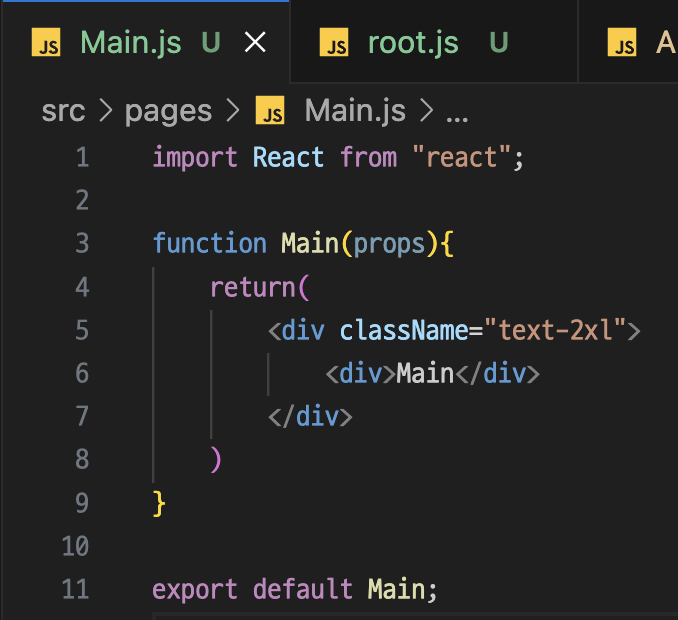
3) src 폴더에 pages 폴더 생성 후 Main.js 파일 생성 -> "text-2xl"과 같은 태그의 뜻은 홈페이지에서 찾아보기
4) root.js에서 작업 [ <Suspense> ] -> 무언가를 기다릴 때 사용 됨(비동기&동기)
-> 렌더링이 준비되지 않은 컴포넌트가 있을 때 로딩 화면 보여주고 로딩 완료되면 해당 컴포넌트 보여주는 React에 내장된 기능
-> React.lazy와 함께 사용 됨

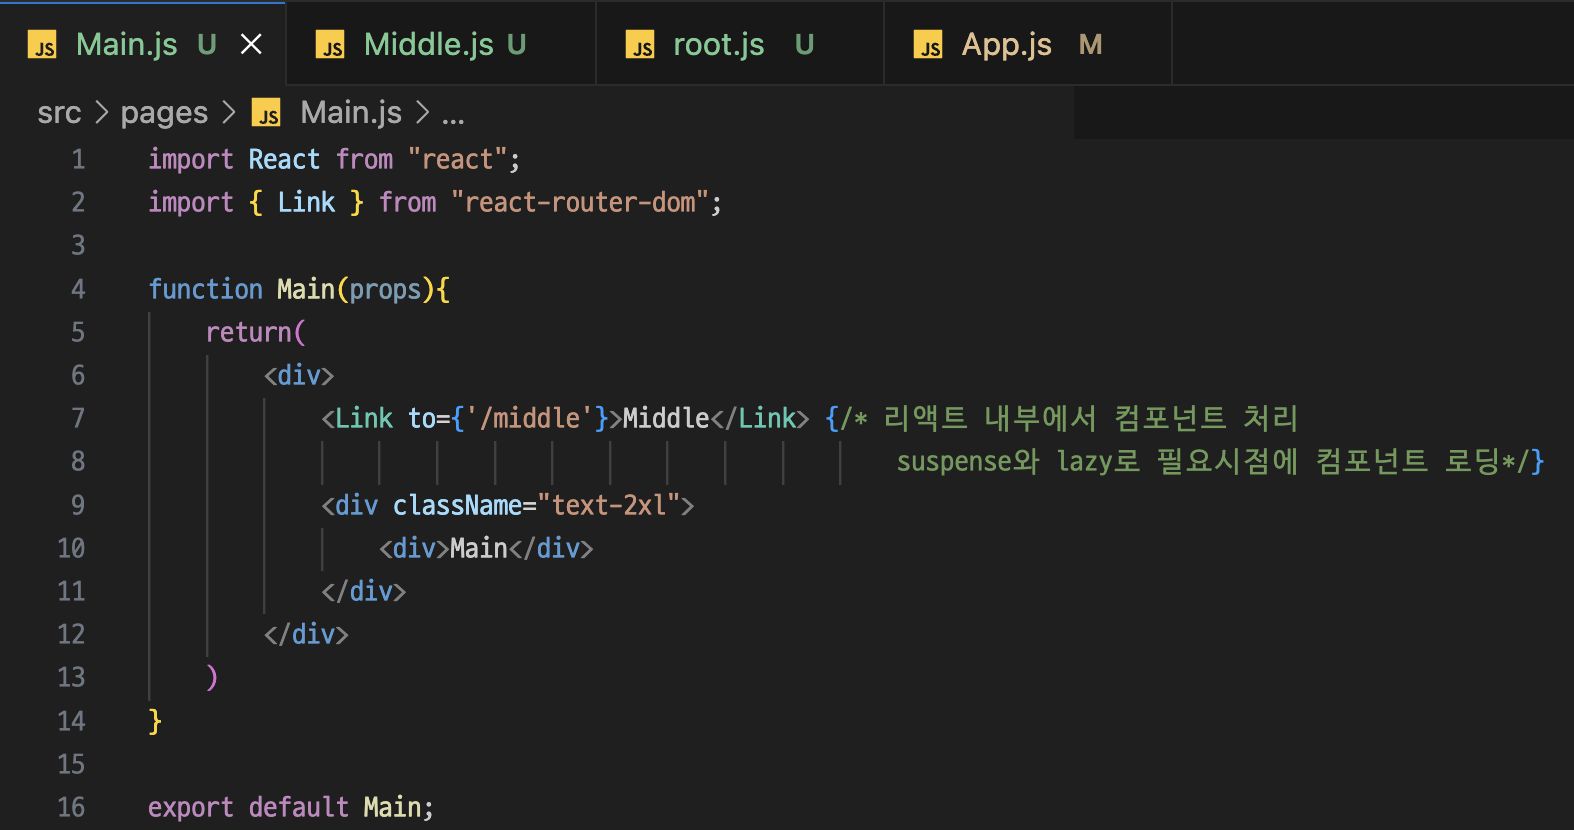
5) src/pages/Middle.js 파일 생성 후 작업

6) root.js에서 5)에서 만든 Middle.js 등록 -> 서버 실행 후 /Middle 링크 타고 들어가면 화면 출력 됨


7) Main.js에서 리액트 내부에서 컴포넌트 처리하는 [ <Link> ] 사용 -> Middle 클릭하면 /Middle로 이동 링크임 ! (a태그대신 사용)


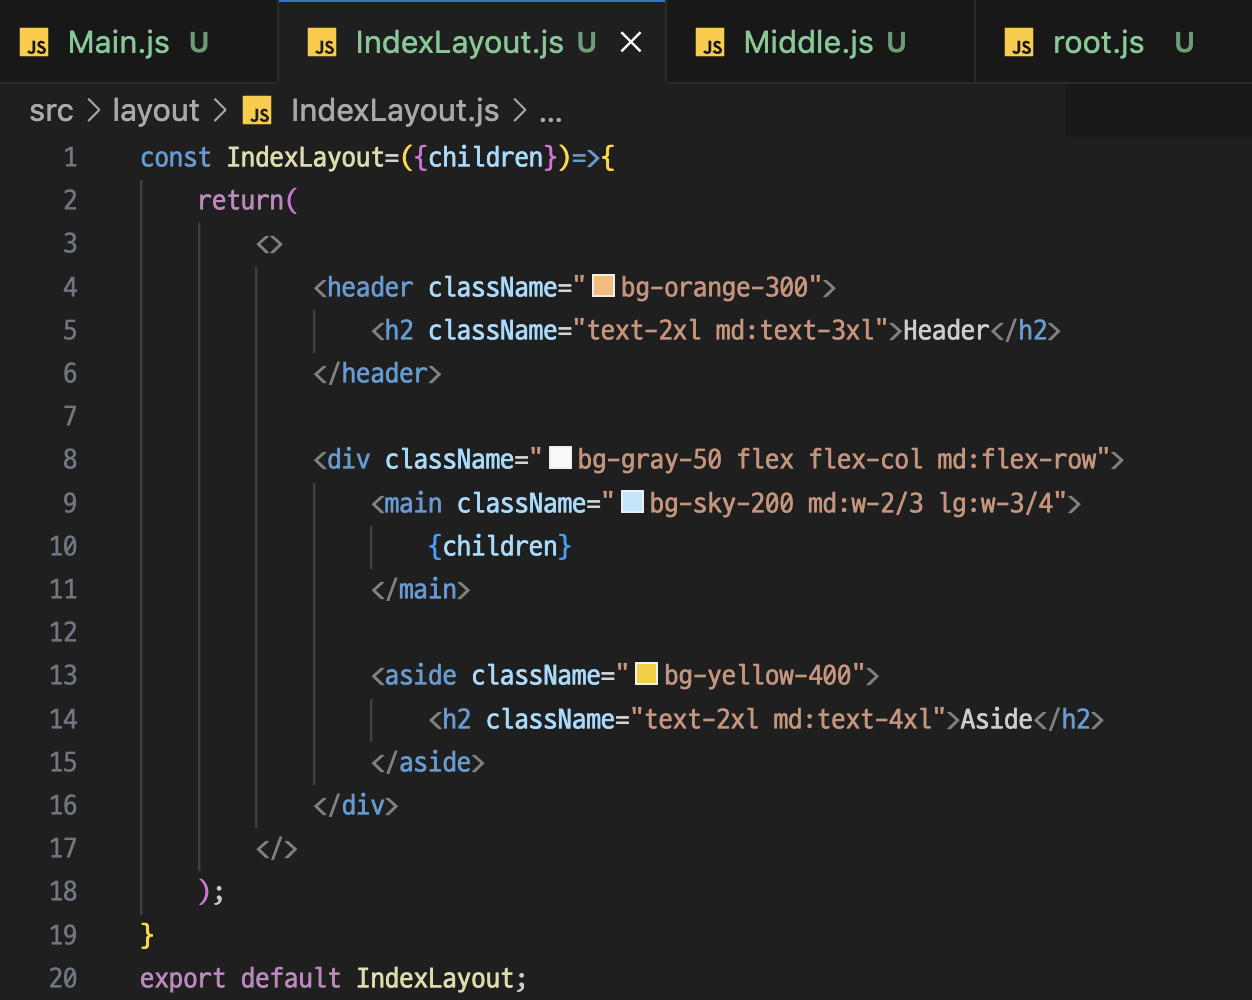
1) src/layout/IndexLayout.js 파일 생성 -> Header... 나누는 작업 여기서 이루어짐
2) Main.js와 Middle.js에 [ <IndexLayout> ] 추가 & import


1) src/components/menus/IndexMenu.js 파일 생성
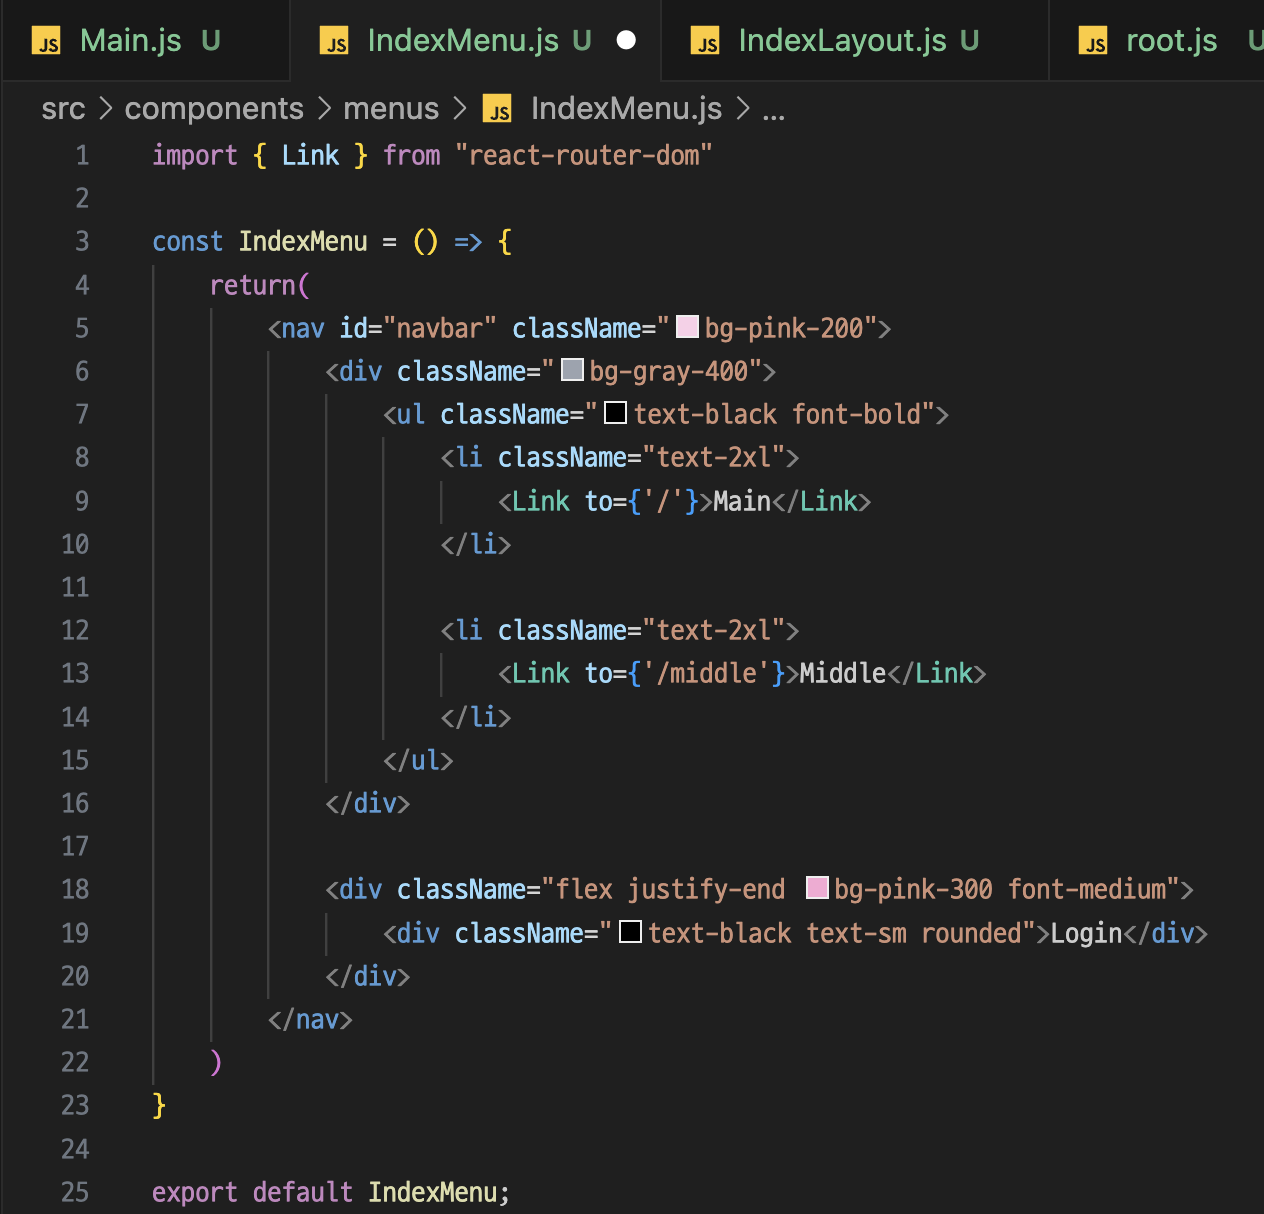
2) IndexLayout.js에 [ <IndexMenu> ] 추가 & import


1) src/pages/todoList/IndexPage.js 파일 생성 후 [ <Outlet> ] 으로 좀더 이쁘게 작업

2) root.js에서 const Index=lazy(()=>import("../pages/todoList/Index"))
3) src/pages/todoList/List.js 파일 생성

4) root.js에서 const Index=lazy(()=>import("../pages/todoList/List"))


1) route/todoRoute.js 파일 생성후 중첩 Route 하는 법 !!!

2) root.js에서 path:"index"를 path:"todo"로 바꾼후 ,children:todoRoute() 추가 -> todo로 들어가면 Index 컴포넌트 페이지
path:"list"는 todoRoute에 넣어놨기때문에 삭제

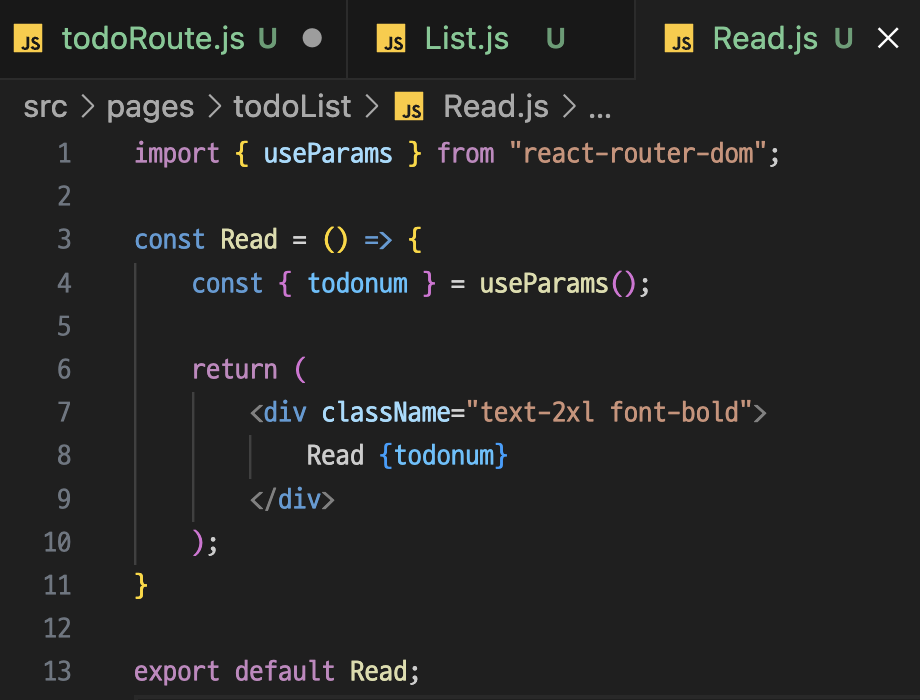
3) List.js와 Read.js 파일 생성 후 주소창으로 값 가져오는 법 !!!
-> Read 정왕대로117번길 32 창으로 넘길 때는 { useParams }
-> List 쿼리 창으로 넘길 때는 { searchParams }


1) IndexPage.js에서 onClick 걸어주기onClick={onList}
https://tailwindcss.com/docs/installation
Installation - Tailwind CSS
The simplest and fastest way to get up and running with Tailwind CSS from scratch is with the Tailwind CLI tool.
tailwindcss.com
'개발자 공부 > 🌷 리액트 공부' 카테고리의 다른 글
| 🌷 리액트 [ 컴포넌트, JSX, Prop ] (0) | 2024.06.13 |
|---|---|
| Ajax란 ? (0) | 2024.06.10 |
| 🌷 자바스크립트 복습 [ import&export, 객체, ... ] (1) | 2024.06.10 |

